Step by Step Tutorial Creating Ionic 2 Apps From Scratch
This is step by step tutorial to create the Ionic 2 apps from scratch which starting from blank app to the page to page navigation with simple explanation. This tutorial is just a basic to starting to create Ionic 2 app. Before starting the tutorial, make sure you are already installed all required tools that describe in the previous tutorial. Open your terminal or git bash the go to your projects folder, in there type this command:

ionic start MyIonic2App blank --v2
This will take minutes because, after blank app created and downloaded, it will run 'npminstall' automatically.
I'm little explaining those command;
1. Start is ionic command for creating new app
2. MyIonic2App is the name of new app that we created
3. blank is template that generated and downloaded (another template are: side menu, tabs, and tutorials)
4. --v2 is Ionic version that we're use
2. MyIonic2App is the name of new app that we created
3. blank is template that generated and downloaded (another template are: side menu, tabs, and tutorials)
4. --v2 is Ionic version that we're use
To view, this new project goes to newly create a folder (project name MyIonic2App) then run app and view in browser.
cd MyIonic2App
ionic serve
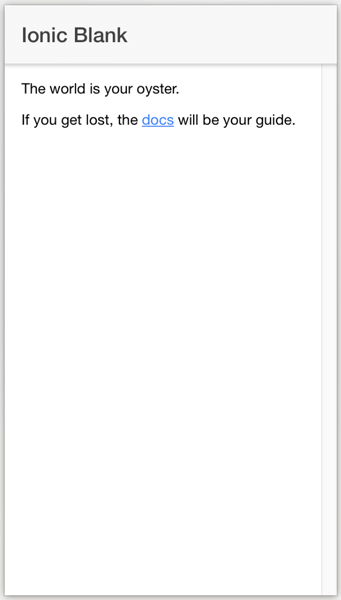
You will see your app in the browser that automatically opened or if not open automatically just go to URL http://localhost:8100/.
Exploring Project Structure
Generated project structure contains main folder for development src and www, another file. Inside src folder, there is app, assets, pages, theme folders and declaration.d.ts, index.html, manifest.json, service-worker.js files.
The main entry point is src/index.html which scripts, css, bootstrap and start running app calls.
<ion-app></ion-app>
Above tag is where ionic function looks for in html. And below are cordova.js and main.js call in this HTML, event cordova.js will return 404 in the browser.
<script src="cordova.js"></script>
<script src="build/main.js"></script>
Inside src folder there are raw and uncompiled code where's ionic app take place. When we run ionic serve codes in src/ transpiled into correct javascript code that browser understands (currently ES5). hat means we can work at a higher level using TypeScript, but compile down to the older form of Javascript the browser needs.
Let's open entry point of app src/app/app.module.ts, it is typescript file.
import { NgModule, ErrorHandler } from '@angular/core';
import { IonicApp, IonicModule, IonicErrorHandler } from 'ionic-angular';
import { MyApp } from './app.component';
import { HomePage } from '../pages/home/home';

@NgModule({
  declarations: [
    MyApp,
    HomePage
  ],
  imports: [
    IonicModule.forRoot(MyApp)
  ],
  bootstrap: [IonicApp],
  entryComponents: [
    MyApp,
    HomePage
  ],
  providers: [{provide: ErrorHandler, useClass: IonicErrorHandler}]
})
export class AppModule {}
Every app has a root module that essentially controls the rest of the application. This is very similar to from
ng-app Ionic and Angular 1. This is also where we bootstrap our app using 'ionicBootstrap'
In this module, we’re setting the root component to MyApp, inside '
src/app/app.component.ts'. This is the first component that gets loaded in our app, and it typically is an empty shell for other components to loaded into. Inside 'app.component.ts', we’re setting out the template into 'src/app/app.html', so let’s look in there.
Here’s the main template for the app in '
src/app/app.html':<ion-nav [root]="rootPage"></ion-nav>
Because we started with blank project, it's only show ion-nav. If we started with tabs or side menu there is declaration for ion-menu above ion-nav. Pay attention to the
[root] property binding. This sets what is essentially the first, or “root” page for the ion-nav component. When ion-navloads, the component referenced by the variable rootPage will be the root page. Look at app.component.ts in line 12....
import { HomePage } from '../pages/home/home';
...
rootPage = HomePage;
It must be the first page show when app start.
Add New Page
To add the new page simply create the new folder inside src/pages/ folder name it as '
list'. Then add list.html, list.scss and list.ts files to that new folder. Write this code to list.html.<ion-header>
<ion-navbar>
<ion-title>
List Page
</ion-title>
</ion-navbar>
</ion-header>
<ion-content padding>
<ion-list>
<ion-item text-wrap *ngFor="let item of items" (click)="itemSelected(item)">
<h3>{{item}}</h3>
</ion-item>
</ion-list>
</ion-content>
This code to list.ts
import {Component} from "@angular/core";

@Component({
  selector: 'page-list',
  templateUrl: 'list.html'
})
export class ListPage {
  items = [
    'iPhone 6',
    'iPhone 6s',
    'iPhone 6 Plus',
    'iPhone 6s Plus',
    'iPhone 7',
    'Nexus 5',
    'Nexus 5x',
    'Nexus 6',
    'Nexus 6P'
  ];

  itemSelected(item: string) {
    console.log("Selected Item", item);
  }
}
Replace this code to home.html inside <ion-content></ion-content> tag:
<button (click)="newList()" padding>
  <ion-icon name="list"></ion-icon>
  List Items
</button>
Import list module in home.ts and create function that called from home.html for navigate to list page.
import { Component } from '@angular/core';
import { NavController } from 'ionic-angular';
import { ListPage } from '../list/list';

@Component({
  selector: 'page-home',
  templateUrl: 'home.html'
})
export class HomePage {

  constructor(public navCtrl: NavController) {

  }

  newList(){
    this.navCtrl.push(ListPage);
  }

}
Register new list module to app.module.ts, so the whole app.module.ts like this
import { NgModule, ErrorHandler } from '@angular/core';
import { IonicApp, IonicModule, IonicErrorHandler } from 'ionic-angular';
import { MyApp } from './app.component';
import { HomePage } from '../pages/home/home';
import { ListPage } from '../pages/list/list';

@NgModule({
  declarations: [
    MyApp,
    HomePage,
    ListPage
  ],
  imports: [
    IonicModule.forRoot(MyApp)
  ],
  bootstrap: [IonicApp],
  entryComponents: [
    MyApp,
    HomePage,
    ListPage
  ],
  providers: [{provide: ErrorHandler, useClass: IonicErrorHandler}]
})
export class AppModule {}
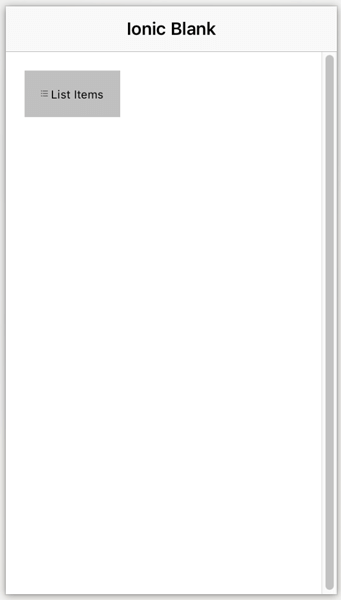
After you save all new code files, ionic serve automatic update view in browser, so it will look like this
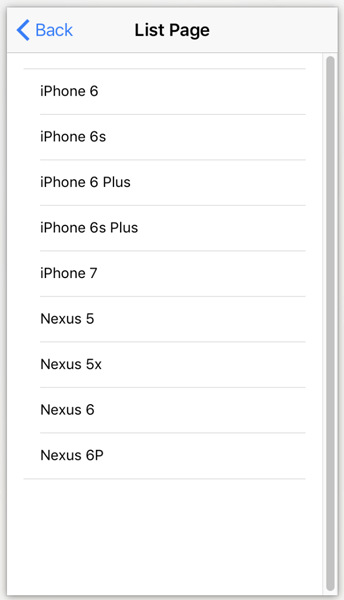
When you click List Items button it will navigate to list page
That's it for now, you can see simple navigation between page after creating new page. You will find source code in here.
Thank You
0 comments