How to Create Autoplay Slides using Ionic 2
This tutorial describes how to create built in Ionic 2 autoplay Slides from scratch. Slides are components that bundling on Ionic 2, you can find more detail here. We will show you how to implement this slides in mobile app and run in Android and iOS device. Before the starting this tutorial, make sure you already install all required tools like Node.js, latest Ionic 2 and latest Cordova. As usually, we'll begin tutorial from scratch that means, to begin with creating a new app.
1. Create Ionic 2 App
Before creating new Ionic 2 app, open terminal or cmd then go to your projects folder. Type this command to create new Ionic 2 app.
ionic start Ionic2Slides --v2
Go to the newly created Ionic 2 app folder.
cd Ionic2Slides
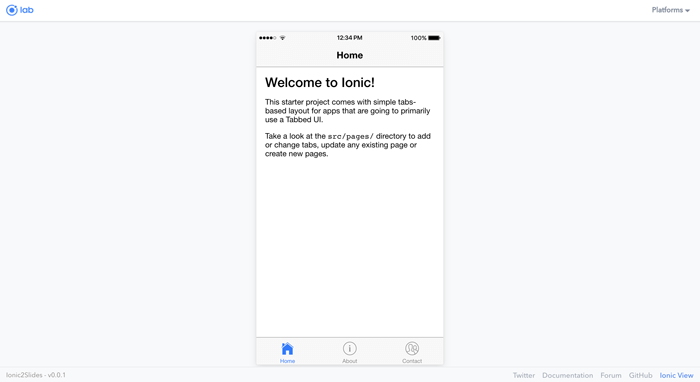
Before continue to the next steps, make sure this Ionic 2 app working fine by typing this command.
ionic serve --lab
It will automatically open default browser and show the app in iOS or Android mode.
2. Add Slides to Ionic 2 View
Now, it's a time for adding slides in Ionic 2 view. Open and edit src/pages/home/home.html using your favorite text editor or IDE then add this tags inside "<ion-content>" and remove padding attribute on it.
<ion-content>
  <ion-slides autoplay="5000" loop="true" speed="3000">
    <ion-slide >
      <img src="../../assets/images/slide-1.jpg">
    </ion-slide>
    <ion-slide >
      <img src="../../assets/images/slide-2.jpg">
    </ion-slide>
    <ion-slide >
      <img src="../../assets/images/slide-3.jpg">
    </ion-slide>
  </ion-slides>
</ion-content>
That "<ion-slides>" tag is used with attribute autoplay, loop, and speed. The content of each slide just a static image which put in "assets/images" folder, so prepare your image for slides before seeing the app in the browser. Let's take a look again your browser, it should be shown image slide show.
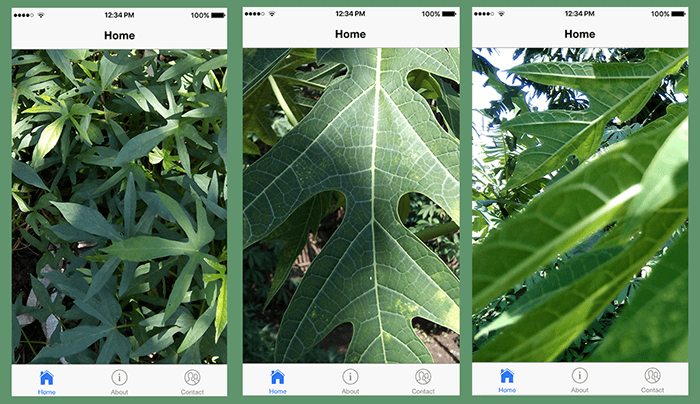
That it's the basic Ionic 2 Slides that play automatically and loops every 5000ms. Next, we will continue with dynamic Ionic 2 Slides.
3. Create Dynamic Slides from Array
To make dynamic Slides, open and edit src/pages/home/home.ts then declare an array after Class name.
slideData = [{ image: "../../assets/images/slide-1.jpg" },{ image: "../../assets/images/slide-2.jpg" },{ image: "../../assets/images/slide-2.jpg" }]
Edit src/pages/home/home.html then change "ion-slide" to be one slide with Angular 2 loop.
<ion-content>
  <ion-slides autoplay="5000" loop="true" speed="3000">
    <ion-slide *ngFor="let slide of slideData">
      <img src="{{slide.image}}" />
    </ion-slide>
  </ion-slides>
</ion-content>
That code changes will display the same result as previous static Ionic 2 Slides.
4. Run Slide on iOS and Android Devices
This time to run this Ionic 2 Slides app on the real iOS and Android devices. Before starting the run in real devices, make sure you have added the platform for each device.
ionic platform add android
By default, iOS platform was installed when creating new Ionic 2 App. Uninstall and install again iOS platform.
ionic platform rm ios
ionic platform add ios
Then run the app in the device.
ionic platform run ios
Oh no! there's no images in our slide. Don't panic, just change the path to the slide images in the controller. Edit home.ts the change image path in slide array.
slideData = [{ image: "assets/images/slide-1.jpg" },{ image: "assets/images/slide-2.jpg" },{ image: "assets/images/slide-2.jpg" }]
You can find the source code for this tutorial on our Github.
Thanks.
0 comments