Integrating Ionic 2, Google Maps and Geolocation using Ionic Native
There are some methods to integrating Ionic 2 App, Google Maps, and Geolocation. It can use native Android and iOS API or Web API. Right here, we will cover how to use Ionic Native Google Maps and Geolocation in Ionic 2 Maps app. As usually, we will starting to build Ionic 2 app from scratch. Before we started creating an app, first we have to setup Google Maps API in Google Developer Console.
Go to Google Developer Console.
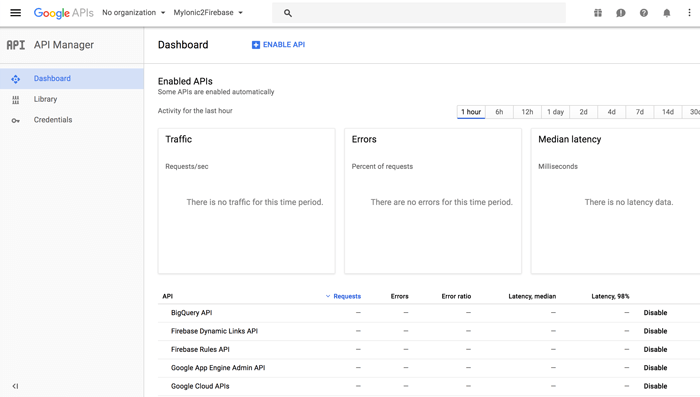
Create a project or use an existing project. Click "+ Enable API" button. Choose Google Maps Android API in the Google Maps APIs category.

Click "> Enable" link. Now, click Credentials menu then click Create Credential dropdown.
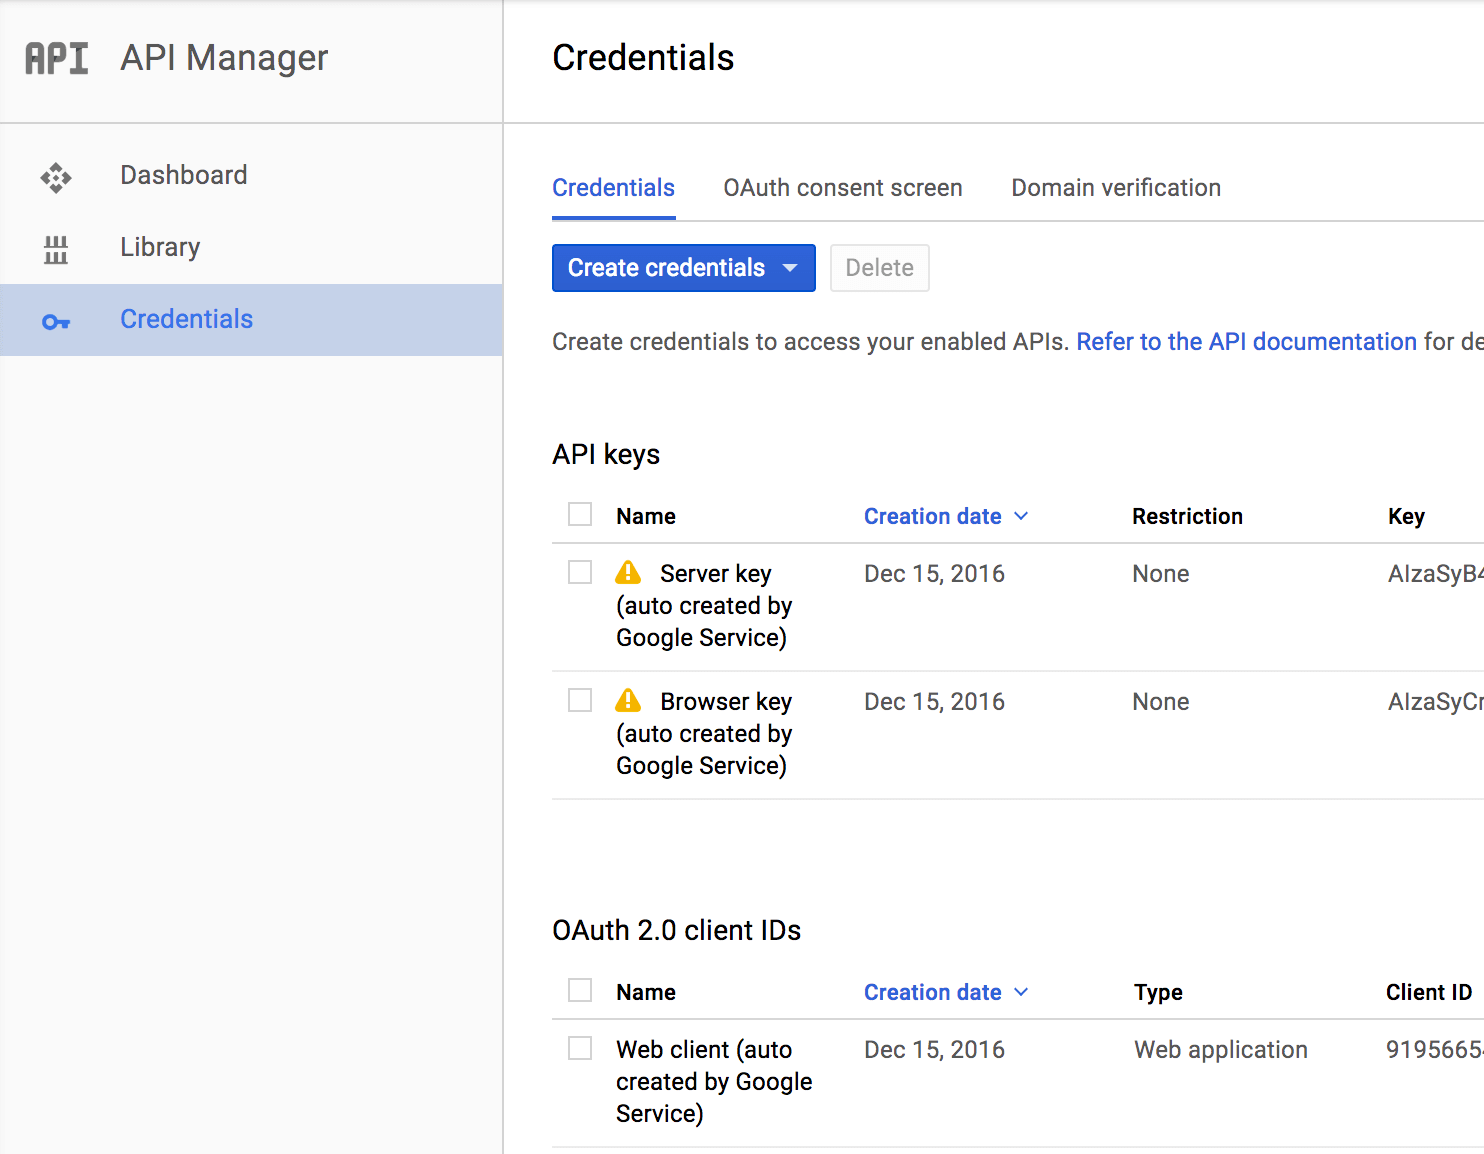
Click API Key, after API key created popup shown, copy and paste the newly created API key to your notepad then close the popup.
For iOS Google Maps SDK just enable it as the previous step but don't create API key again because we will use the same API for all platforms.
Now, Google Maps API is ready to use.
2. Create New Ionic 2 App
As usually, we have to create new Ionic 2 App. Open terminal or command line then go to projects folder. Type this command to create new Ionic 2 App.
ionic start Ionic2GoogleMaps --v2 Go to the newly created project folder.
cd Ionic2GoogleMapsionic serve --l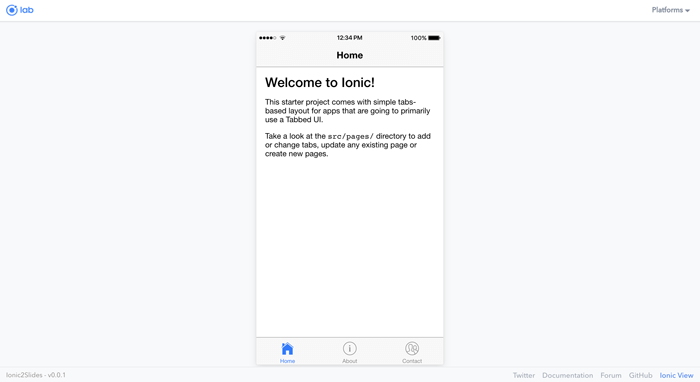
Install or reinstall all platform that we will build to.
ionic platform rm android
ionic platform add android
ionic platform rm ios
ionic platform add ios
3. Install and use Ionic Native Google Maps
For using native Google Maps with Ionic 2, install this plugin with this command.
ionic plugin add cordova-plugin-googlemaps --variable API_KEY_FOR_ANDROID="YOUR_ANDROID_API_KEY_IS_HERE" --variable API_KEY_FOR_IOS="YOUR_IOS_API_KEY_IS_HERE"npm install --save @ionic-native/google-mapsimport { NavController, Platform } from 'ionic-angular';
import { GoogleMaps, GoogleMap, GoogleMapsEvent, LatLng, CameraPosition, MarkerOptions, Marker } from '@ionic-native/google-maps';constructor(public navCtrl: NavController, private googleMaps: GoogleMaps) {}loadMap() {
this.map = new GoogleMap('map');
this.map.on(GoogleMapsEvent.MAP_READY).subscribe(() => {
console.log('Map is ready!');
});
}constructor(public navCtrl: NavController, public platform: Platform) {
platform.ready().then(() => {
this.loadMap();
});
}<ion-content padding>
<div #map id="map"></div>
</ion-content>page-home {
#map {
height: 100%;
}
}4. Test App on Device
To test app on the device make sure you connect data cable from device to your laptop or PC. Now, we start to test for Android. Type this command to run on an android device.
ionic run android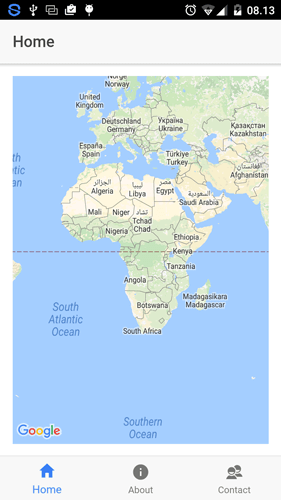
For iOS, there's a little complicated because we need to create provisioning profile in Apple developer console and also register app id. We are not cover it right now, but to run the app in iOS device working perfectly from XCode. Type this command to build iOS.
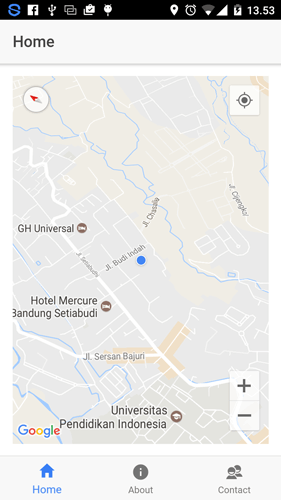
ionic build ios5. Display My Current Location on Google Maps
To get current location of a device, we should install Ionic Native Geolocation plugin first. Type this command to install this plugin.
ionic plugin add cordova-plugin-geolocation
npm install --save @ionic-native/geolocationimport { Geolocation } from '@ionic-native/geolocation';providers: [
StatusBar,
SplashScreen,
{provide: ErrorHandler, useClass: IonicErrorHandler},
Geolocation
]import { Geolocation } from '@ionic-native/geolocation';constructor(public navCtrl: NavController, public platform: Platform, private geolocation: Geolocation) {
platform.ready().then(() => {
this.loadMap();
});
}loadMap() {
this.geolocation.getCurrentPosition({ maximumAge: 3000, timeout: 5000, enableHighAccuracy: true }).then((resp) => {
console.log(resp.coords.latitude+", "+resp.coords.longitude);
let location = new LatLng(resp.coords.latitude, resp.coords.longitude);
this.map = new GoogleMap('map', {
'backgroundColor': 'white',
'controls': {
'compass': true,
'myLocationButton': true,
'indoorPicker': true,
'zoom': true
},
'gestures': {
'scroll': true,
'tilt': true,
'rotate': true,
'zoom': true
},
'camera': {
'latLng': location,
'tilt': 30,
'zoom': 15,
'bearing': 50
}
});
this.map.on(GoogleMapsEvent.MAP_READY).subscribe(() => {
console.log('Map is ready!');
});
}).catch((error) => {
console.log('Error getting location', error);
});
}
For running on the iOS device you can refer to the previous chapter.
6. Monitor Current Device Location and Display to Google Maps
Another feature from Geolocation is watching location. It means when device moving to another place Google Maps will always update the location of the current device. To do that just change the constructor to be like this.
constructor(public navCtrl: NavController, public platform: Platform, private geolocation: Geolocation) {
  platform.ready().then(() => {
    //this.loadMap();
    let watch = this.geolocation.watchPosition();
    watch.subscribe((data) => {
       let location = new LatLng(data.coords.latitude, data.coords.longitude);

       this.map = new GoogleMap('map', {
         'backgroundColor': 'white',
         'controls': {
           'compass': true,
           'myLocationButton': true,
           'indoorPicker': true,
           'zoom': true
         },
         'gestures': {
           'scroll': true,
           'tilt': true,
           'rotate': true,
           'zoom': true
         },
         'camera': {
           'latLng': location,
           'tilt': 30,
           'zoom': 15,
           'bearing': 50
         }
       });

       this.map.on(GoogleMapsEvent.MAP_READY).subscribe(() => {
         console.log('Map is ready!');
       });
    });
  });
}
Now, you every time your location change Google Maps marker will always follow.
This is just simple example of using Google Maps and Geolocation, feel free to give us suggestions or error report to improve this tutorial.
Source Code on Github.
Thanks.
0 comments